


Although this is a little on the grander scale of what I was thinking, I'm very pleased with the way it turned out. I do believe though that because of the size (to accommodate my hat display we made) of the box, I will end up needing 2 spotlights instead of just one. The pictures are turning up a little dark, which I have fixed in editing. Here's a small run through of the modifications we used:
- particle board cut to 2 different dimensions for the back and base of the box
- 1x2 board cut to frame the front/sides/top of the box
- 2 yards of cheap cotton from a craft store (much like white t-shirt fabric) to line the top and sides of the box to control and disperse light accordingly attached with thumb tacks
- 1 yard of heavy duty white lining fabric. I am not a seamstress, so my verbiage of fabric is not excellent but its a super stiff/thick fabric used for the back of drapes. We had an incredibly hard time finding a piece of thick paper big enough to line the inside that was under $25.00 and this feels like the stuff in a real photo studio. we taped it to the top from the inside with scotch tape so I could remove it and wash or iron it as necessary.
- also, we extended the boards on top so you can attach a clamp light onto the back for easy lighting arrangement
End result (photos from the box):
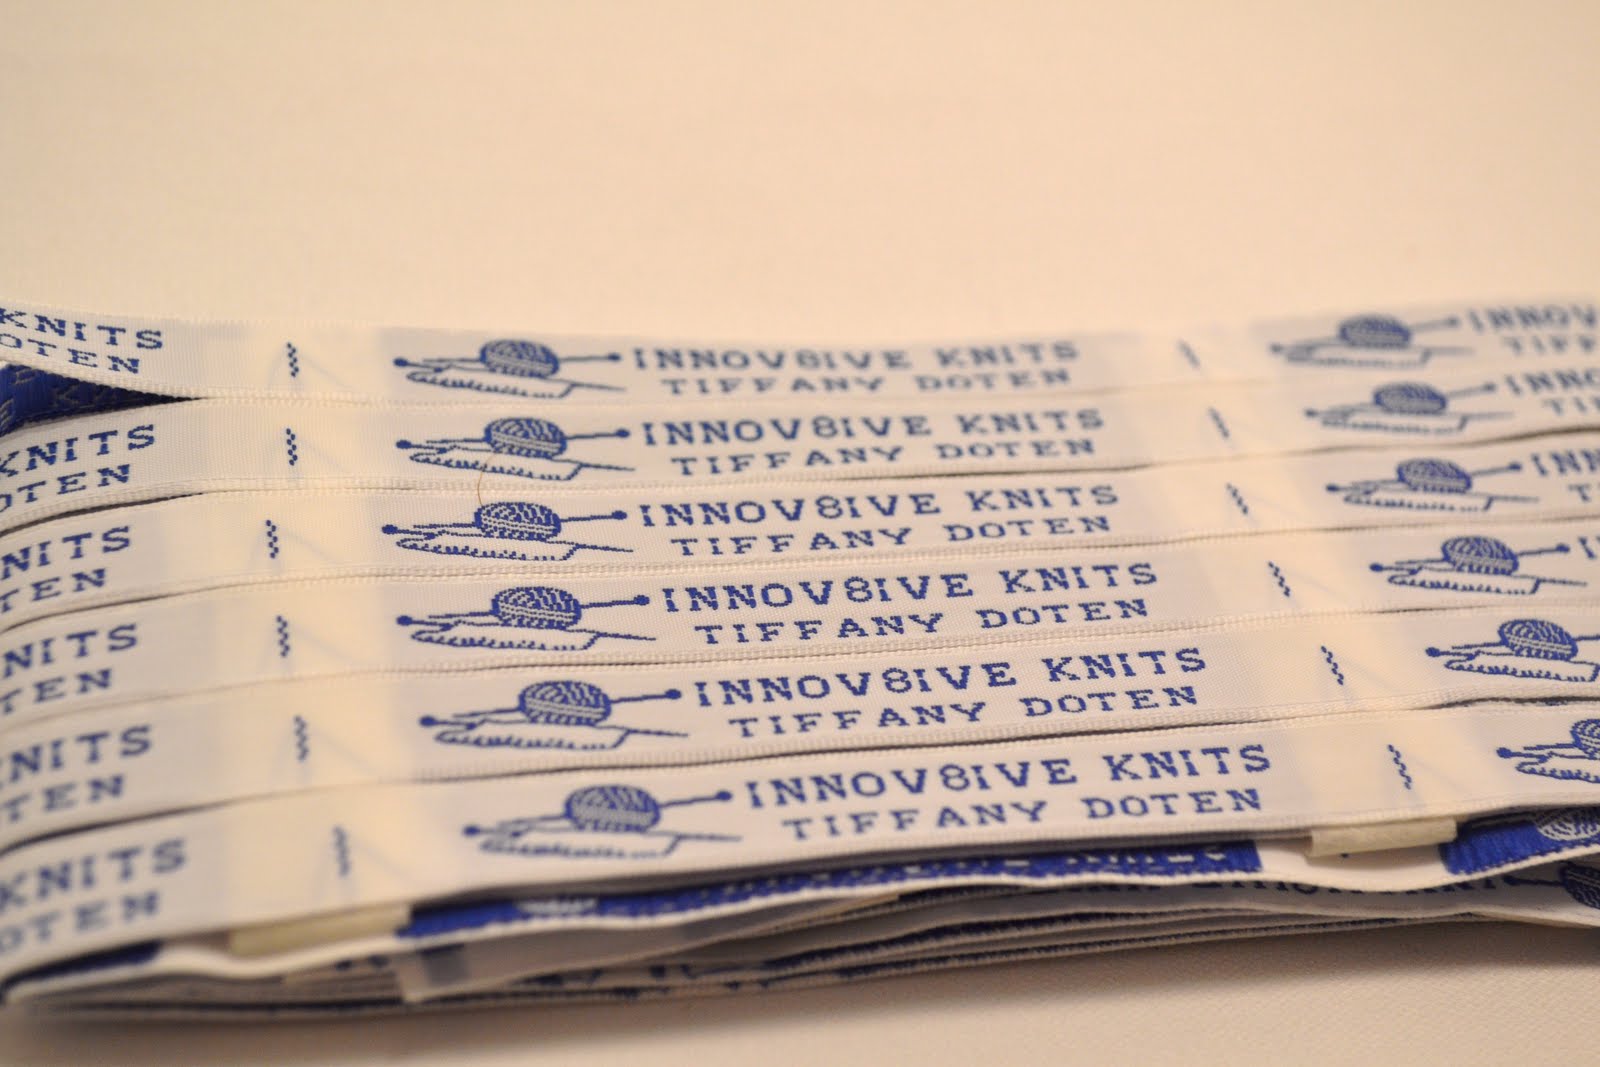

Oh and did I mention that I got my custom clothing labels in?!?! I am so thrilled with how they came out and think they will play a great role in advertisement and branding. Make it easier for people to remember where their "favorite" scarf or hat came from for repeat business. :) If you want some for yourself they came from here: Custom Clothing Labels . They did an excellent job and are the best price from anywhere else I could find! The only downside is that they take a terribly long time to come in... and by terribly long time is like 3-5 weeks which isn't really terrible especially because they tell you that on the website so you know to expect it.
All in all, I'm overly satisfied with it. It will take me some time to get used to it.
On an unrelated note, I got my first official payment from my first happy customer!!! Hopefully several more are close behind!
-Chasing the dream- Tiffany
Cool! Neat idea. :)
ReplyDelete