|
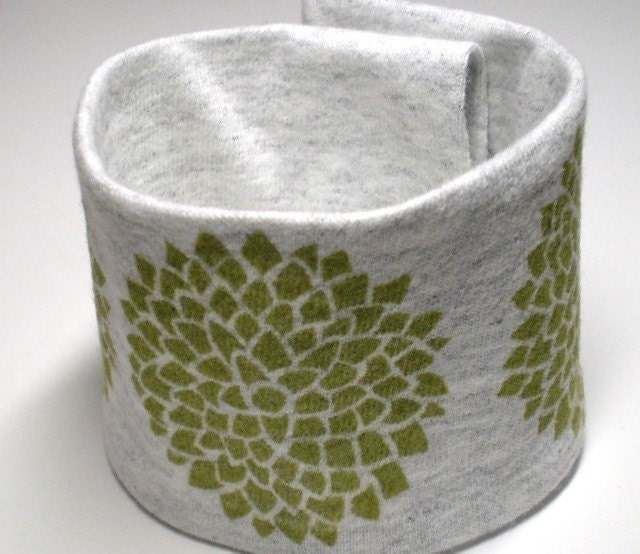
| Photo of my "just beard" on my table |
This part of the tutorial is how I managed to get this bangin’ distressed wood look on my pallet table. It’s actually much more simple than you would imagine! Here’s what you’ll need:
•
Wood stain. Choose any color that you would like to show through the distress.
I chose a dark espresso color.
•
Matte paint. I picked matte because the flash will bounce off of gloss, but if
you aren’t doing photography with it than use whatever kind of paint you want.
I picked up a little sample container at Home Depot and had more than enough for the top of the table.
• A couple sheets of the roughest grade sandpaper you can get your hands on - I used P120.
• A paint brush - get a decent one do you don't have to pick out a billion little hairs that fell out and stuck to the paint.
• Any cloth you don't want anymore: old wash rag, beat up t-shirt etc. for the stain.
STEP ONE- Take your sandpaper and sand down the area that you will be painting.
STEP TWO- Stain the wood using your cloth to the instructions on the stain. I recommend doing 2 coats to really get a deep color and so it's harder to sandpaper through the stain and into the original wood (unless of course you want that). After you've done all the coats you like let it completely dry to the specifications on the stain before step three.
STEP THREE- With your brush & matte paint, paint over the dried stain. You may need 2-3 coats to completely cover the stain and get the desired top coat color. Allow paint to completely dry 24 hours or to the directions on the container.
STEP FOUR- Here comes the fun part, you'll need a little elbow grease for this one but it's totally worth it! Starting with the edges, sand it down as far as you like. Edges always take the most beating when it comes to furniture, so to make it look natural it's best to get the corners and edges sanded down really well. You'll notice once you start sanding that it doesn't all come off at once but in layers. You can leave it just where the satin is peeking through, full stain, or even down to the original wood. I recommend that you keep it as un-uniform as possible, that's what really gives it character. Once you have the edges to your liking, sand random places on the surface to get the look all around. Each spot sanded to a different degree giving it a lot of dimension.

That's it! So simple, so fun, so natural, and did I mention a super cheap photography prop (or table). If you're not using it for photography you can put a lacquer on it to preserve it the way it is and protect from further wear. The lacquer can get shiny and bounce flash so I would leave it be if you plan on shooting on it.
I hope you enjoy your distressed piece as much as I enjoy mine! If you have any questions about it, don't hesitate to ask!
• A couple sheets of the roughest grade sandpaper you can get your hands on - I used P120.
• A paint brush - get a decent one do you don't have to pick out a billion little hairs that fell out and stuck to the paint.
• Any cloth you don't want anymore: old wash rag, beat up t-shirt etc. for the stain.
 |
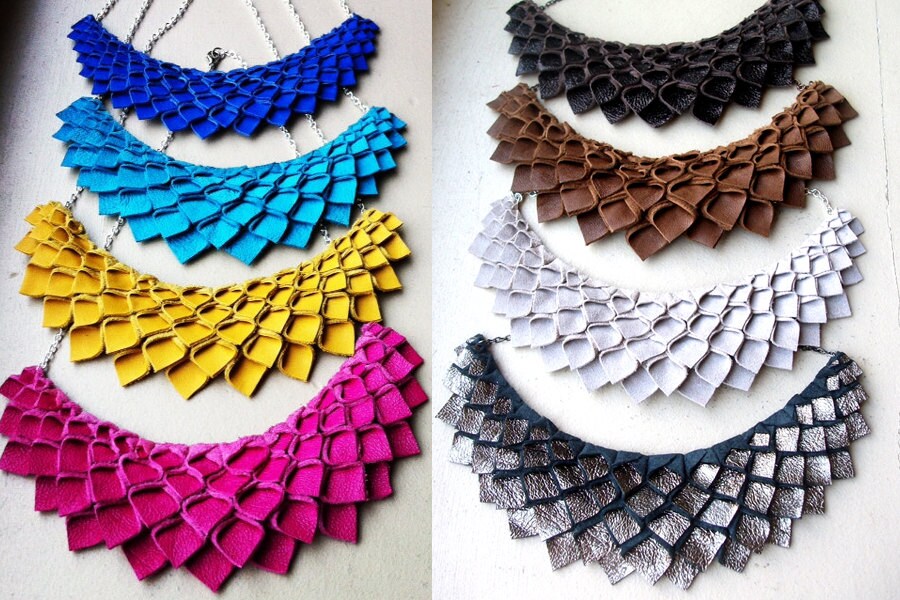
| boot cuffs on the table |
STEP ONE- Take your sandpaper and sand down the area that you will be painting.
STEP TWO- Stain the wood using your cloth to the instructions on the stain. I recommend doing 2 coats to really get a deep color and so it's harder to sandpaper through the stain and into the original wood (unless of course you want that). After you've done all the coats you like let it completely dry to the specifications on the stain before step three.
STEP THREE- With your brush & matte paint, paint over the dried stain. You may need 2-3 coats to completely cover the stain and get the desired top coat color. Allow paint to completely dry 24 hours or to the directions on the container.
STEP FOUR- Here comes the fun part, you'll need a little elbow grease for this one but it's totally worth it! Starting with the edges, sand it down as far as you like. Edges always take the most beating when it comes to furniture, so to make it look natural it's best to get the corners and edges sanded down really well. You'll notice once you start sanding that it doesn't all come off at once but in layers. You can leave it just where the satin is peeking through, full stain, or even down to the original wood. I recommend that you keep it as un-uniform as possible, that's what really gives it character. Once you have the edges to your liking, sand random places on the surface to get the look all around. Each spot sanded to a different degree giving it a lot of dimension.

That's it! So simple, so fun, so natural, and did I mention a super cheap photography prop (or table). If you're not using it for photography you can put a lacquer on it to preserve it the way it is and protect from further wear. The lacquer can get shiny and bounce flash so I would leave it be if you plan on shooting on it.
I hope you enjoy your distressed piece as much as I enjoy mine! If you have any questions about it, don't hesitate to ask!