Thursday, November 29, 2012

Treasury Thursday ~ Origami Treasures


So usually it’s Treasury Tuesday but this week we’re gonna shake it up a bit and call it Treasury Thursday.

Everything here this week is Origami. I love the precision and detail that goes into this kind of art. It really is something to look at, especially up close. I have no clue how people can see a flat piece of paper and turn it into a beautiful shape.

Don't forget to shop small this Christmas season, everything here is hand made by someone's hard working hands.


'Origami Treasures' by Innov8iveKnits


Origami Earrings - Aqua Blue...
$20.00

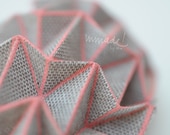
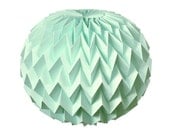
Hanging decorative art: orig...
$40.00

24 Large Origami Irises - pa...
$21.60

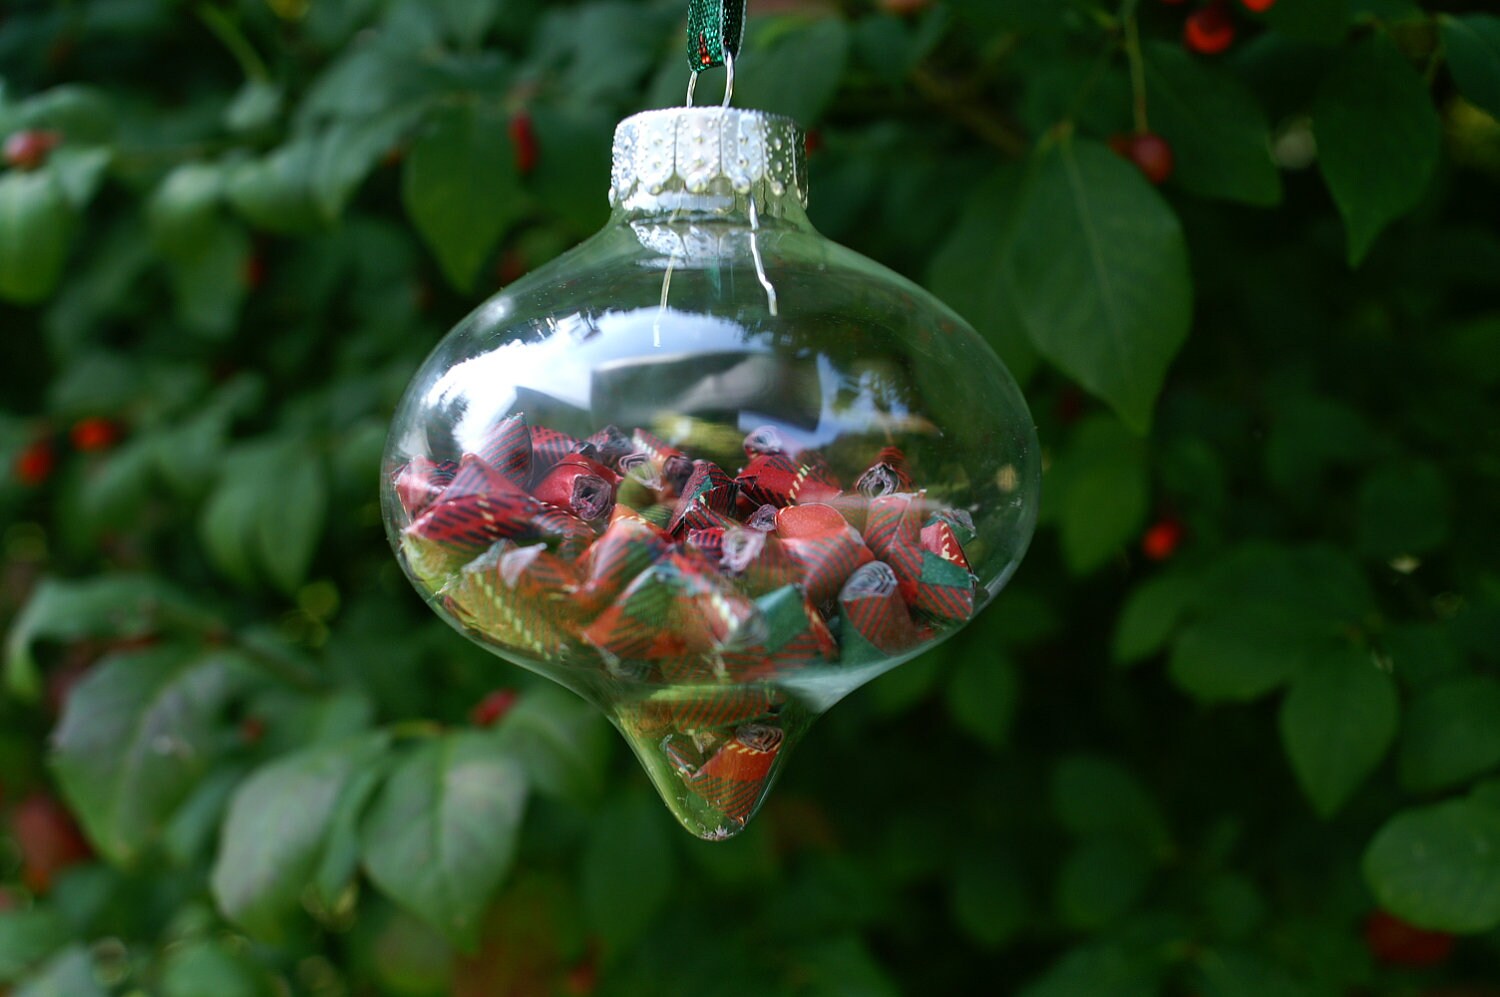
Glass Bulb Ornament- Glass O...
$7.00

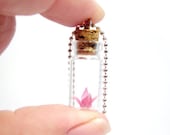
Shop Sale Pink Origami Crane...
$8.20

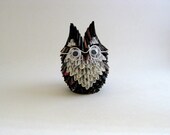
Granny Owl Origami Sculpture...
$12.25

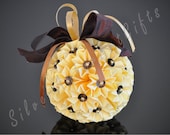
Christmas decoration - yello...
$45.00

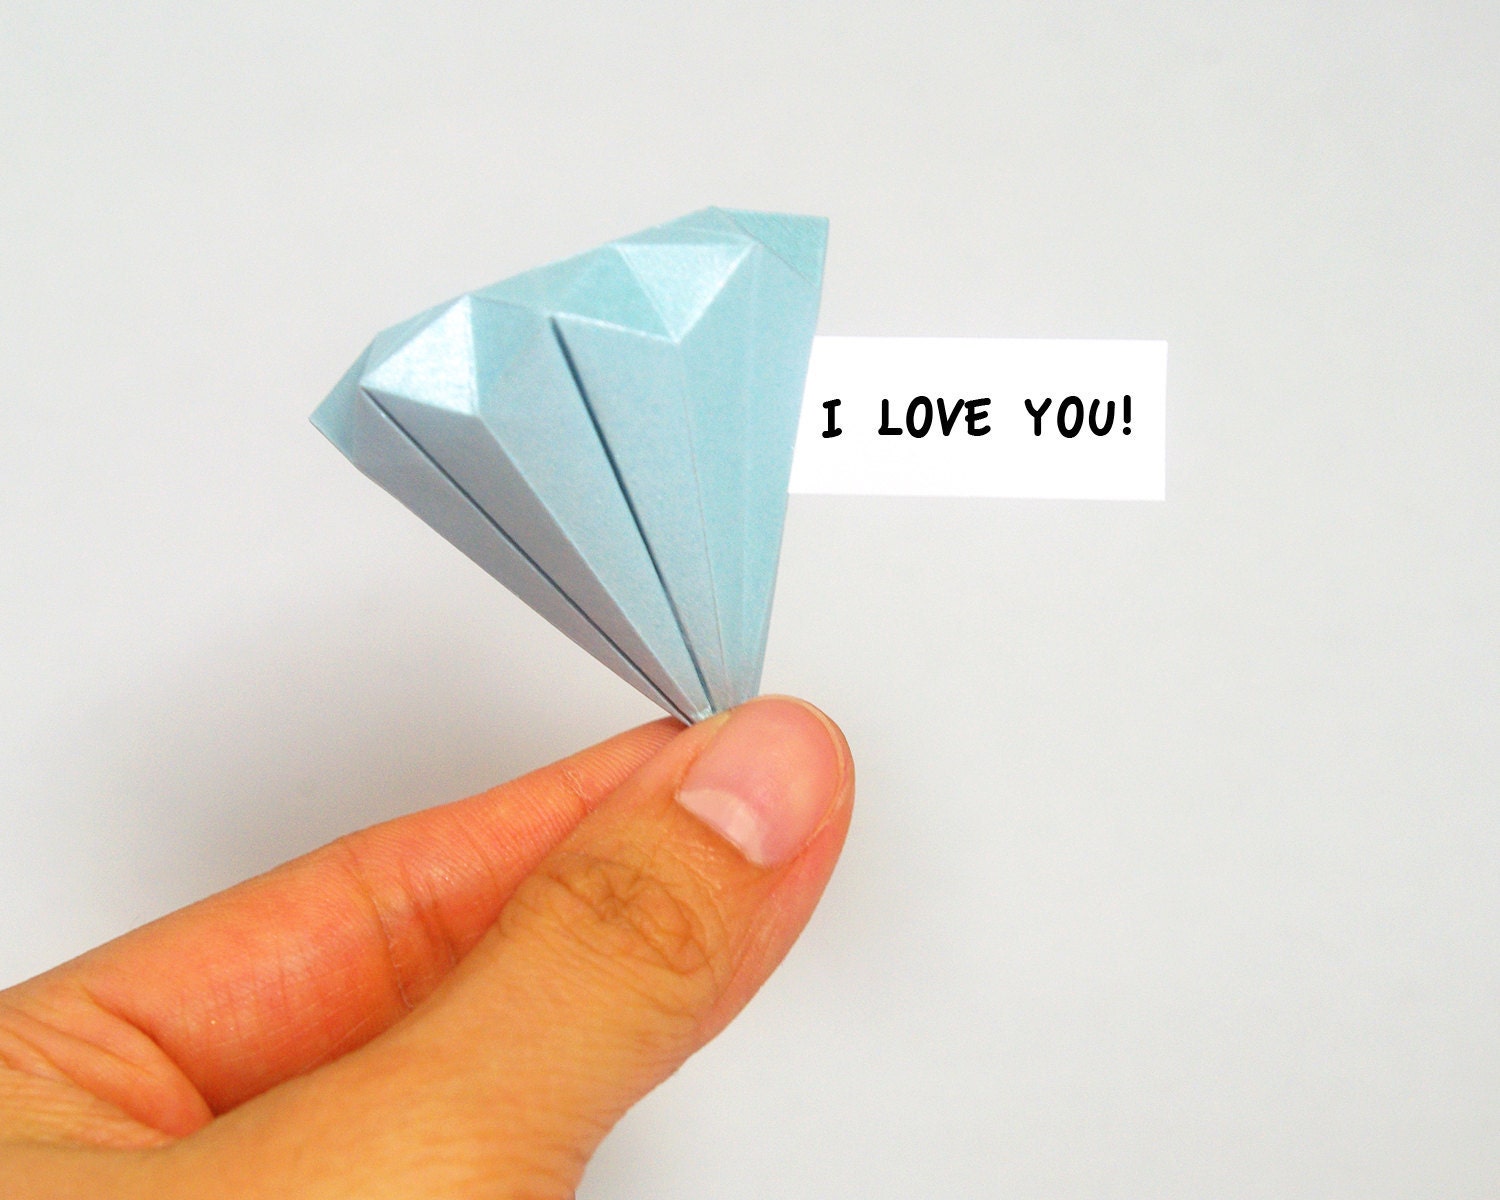
Special Order - 3 Origami Di...
$19.50

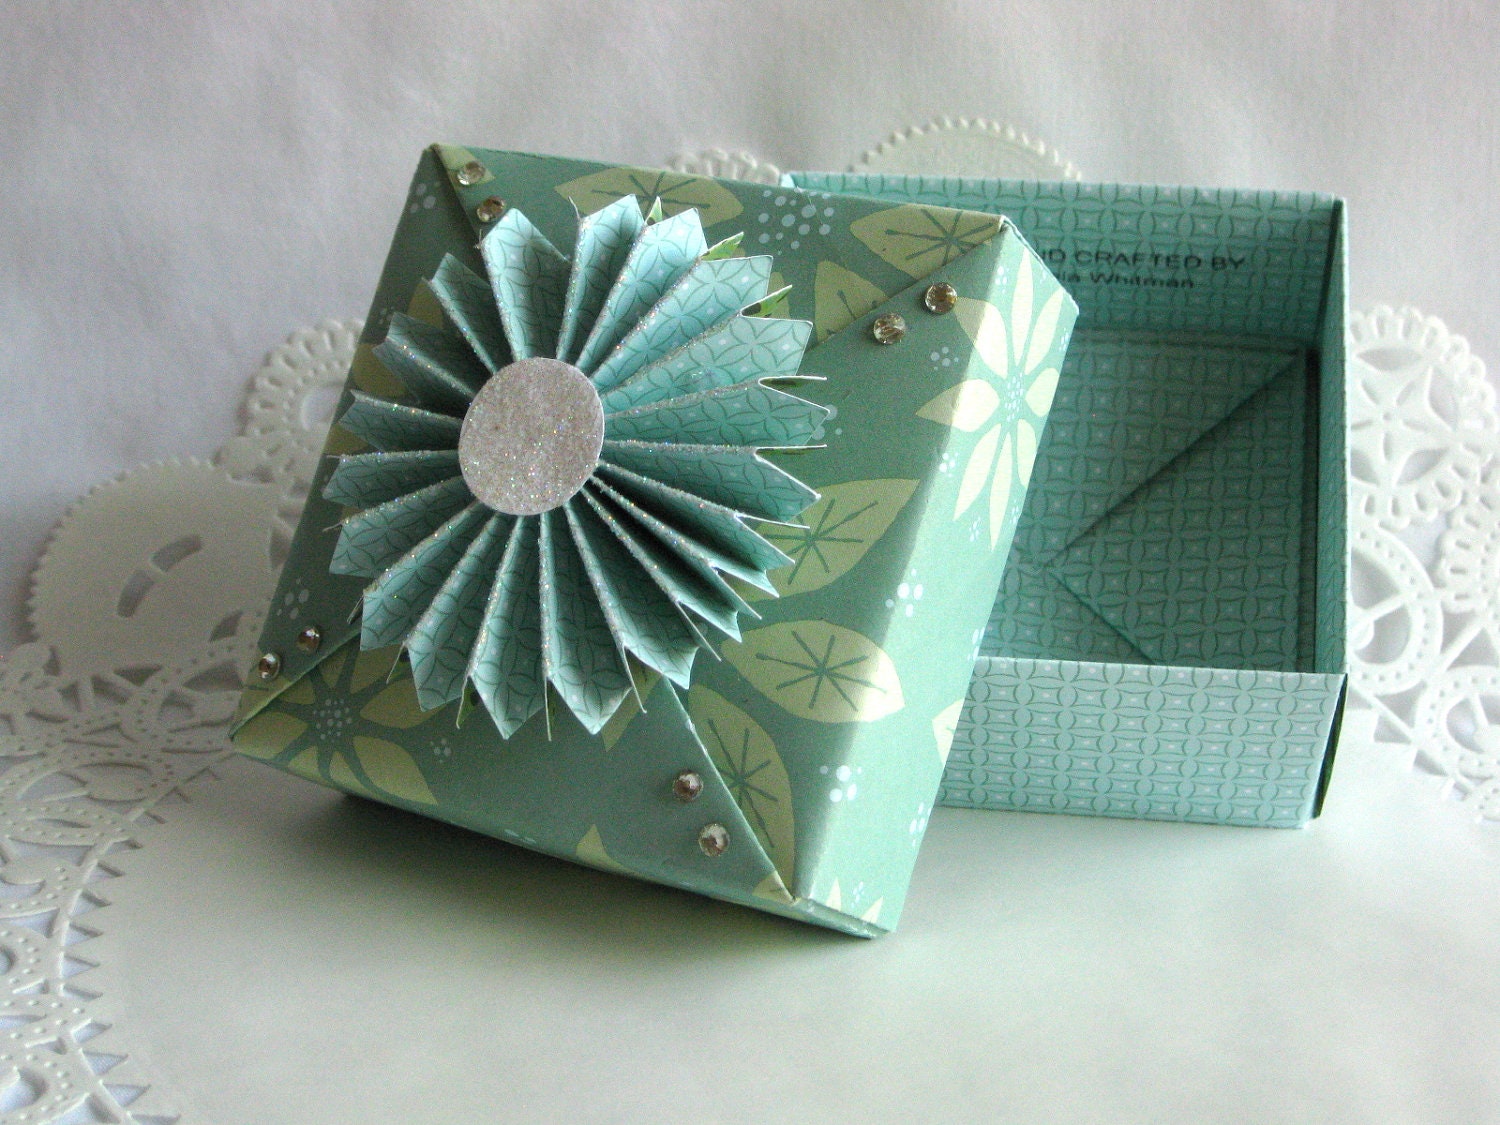
Christmas Origami Box Handma...
$6.00

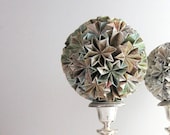
Globe of Stars - Origami 5 i...
$40.00

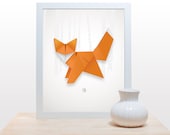
Origami Fox Print - 11x14 mo...
$27.00

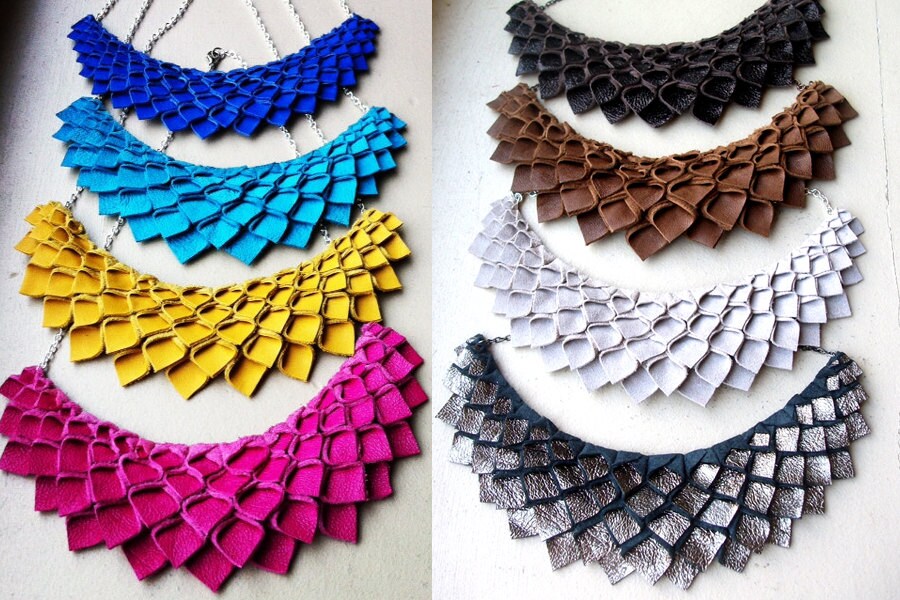
Wearable origami. Hand scree...
$15.00

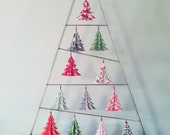
Origami Christmas Tree Ornam...
$36.00

Hot Pink Spiral Origami Cran...
$25.00

Origami Earrings - Black and...
$20.00

Origami Collection: Choose ...
$65.00

Monday, November 26, 2012

Birthing a Pallet Table Prop ~ Part 1


I hope everyone has had a wonderful holiday. If you haven't noticed, I decided to take a little unscheduled blogging break to spend more time making stuff for the holiday rush and to spend more time with my family. 

Now that I'm back I thought I'd publish this again to refresh your brain and get you ready for part 2. The fun part in my opinion, painting and distressing it. So here it is. Look for part 2 next week!
There she is in all her glory... and paint that dripped down the leg that I didn't notice until now LOL


Before I can tell you guys how I managed to get my table so fabuloso looking by distressing the wood – we’ve got to have a table to paint first!

At my day job we have a warehouse & with a warehouse comes piles of pallets. So I stole a few – 3 to be exact. Well not really “stole” I had permission of course. I picked them the same size (that’s pretty important). You have to have that many because the wood panels across the top of the pallet are spaced out quite a bit and to have a table that’s not totally full of holes you have to have them closer together also you will need to take the 4 sides off of the remaining pallet and use it as the legs.

So that’s step one - Choosing the 3 pallets. Then rip out all of the panels on all of them (be careful, it’s really easy to break them). The easiest way we found to take them out is to very carefully hammer from the opposite side on each end of the panel until they fall out. Then you have to remove all of the existing nails.


Step 2 – Take all of those panels you just smacked out of your pallets and put them right back on LOL. Not exactly where you found them of course, much closer together this time.

My hubby and I banging away at the table... FYI I'm terrible with a hammer


Step 3 – take the one of the remaining pallet frames and take the frame apart. The frame is generally a lot sturdier than the panels on top so you can use the frame’s 4 pieces as legs! Make sure all 4 pieces are the same length… or you’ll have one jacked & wobbly table. Then take the pieces and wedge one in each inside corner. I recommend attaching them with at least 2 long screws each. They seemed to hold better than the nails we used.

Whabam! Magic! You have a table… a free one might I add if you already have nails and a hammer. All natural, all free, all recycled, all good! I’ll show you how we painted the wood next!
Designed with love by BDD