Showing posts with label DIY. Show all posts

Monday, November 26, 2012

Birthing a Pallet Table Prop ~ Part 1


I hope everyone has had a wonderful holiday. If you haven't noticed, I decided to take a little unscheduled blogging break to spend more time making stuff for the holiday rush and to spend more time with my family. 

Now that I'm back I thought I'd publish this again to refresh your brain and get you ready for part 2. The fun part in my opinion, painting and distressing it. So here it is. Look for part 2 next week!
There she is in all her glory... and paint that dripped down the leg that I didn't notice until now LOL


Before I can tell you guys how I managed to get my table so fabuloso looking by distressing the wood – we’ve got to have a table to paint first!

At my day job we have a warehouse & with a warehouse comes piles of pallets. So I stole a few – 3 to be exact. Well not really “stole” I had permission of course. I picked them the same size (that’s pretty important). You have to have that many because the wood panels across the top of the pallet are spaced out quite a bit and to have a table that’s not totally full of holes you have to have them closer together also you will need to take the 4 sides off of the remaining pallet and use it as the legs.

So that’s step one - Choosing the 3 pallets. Then rip out all of the panels on all of them (be careful, it’s really easy to break them). The easiest way we found to take them out is to very carefully hammer from the opposite side on each end of the panel until they fall out. Then you have to remove all of the existing nails.


Step 2 – Take all of those panels you just smacked out of your pallets and put them right back on LOL. Not exactly where you found them of course, much closer together this time.

My hubby and I banging away at the table... FYI I'm terrible with a hammer


Step 3 – take the one of the remaining pallet frames and take the frame apart. The frame is generally a lot sturdier than the panels on top so you can use the frame’s 4 pieces as legs! Make sure all 4 pieces are the same length… or you’ll have one jacked & wobbly table. Then take the pieces and wedge one in each inside corner. I recommend attaching them with at least 2 long screws each. They seemed to hold better than the nails we used.

Whabam! Magic! You have a table… a free one might I add if you already have nails and a hammer. All natural, all free, all recycled, all good! I’ll show you how we painted the wood next!

Sunday, August 14, 2011

Do It Yourself Photo Studio

Since I've started promoting my work and have purchased a nice camera to help out, I have even more realized the importance of having excellent pictures. I've been reading through "How to make money using Etsy" by Timothy Adam on my free time (yeah right... what free time???) and it touched on making your own inexpensive photo box for small items. Since most of my items are small in nature I thought, well this would be a good investment. After Googling and researching for a while I found this blog DIY $10 Photo Studio. My fiance has been out of town for some time and as soon as he came home this was on his Honey Do list. I brought a big gently used box from my shipping warehouse from the day job and told him to get to work... This is what I get for asking a man to do a cheap quick project-- before I knew it we were in Home Depot buying wood and nails and cutting and hammering!! What started out as a flimsy, thrifty project turned into an all in project. lol


Although this is a little on the grander scale of what I was thinking, I'm very pleased with the way it turned out. I do believe though that because of the size (to accommodate my hat display we made) of the box, I will end up needing 2 spotlights instead of just one. The pictures are turning up a little dark, which I have fixed in editing. Here's a small run through of the modifications we used:

  • particle board cut to 2 different dimensions for the back and base of the box
  • 1x2 board cut to frame the front/sides/top of the box
  • 2 yards of cheap cotton from a craft store (much like white t-shirt fabric) to line the top and sides of the box to control and disperse light accordingly attached with thumb tacks
  • 1 yard of heavy duty white lining fabric. I am not a seamstress, so my verbiage of fabric is not excellent but its a super stiff/thick fabric used for the back of drapes. We had an incredibly hard time finding a piece of thick paper big enough to line the inside that was under $25.00 and this feels like the stuff in a real photo studio. we taped it to the top from the inside with scotch tape so I could remove it and wash or iron it as necessary.
  • also, we extended the boards on top so you can attach a clamp light onto the back for easy lighting arrangement
End result (photos from the box):


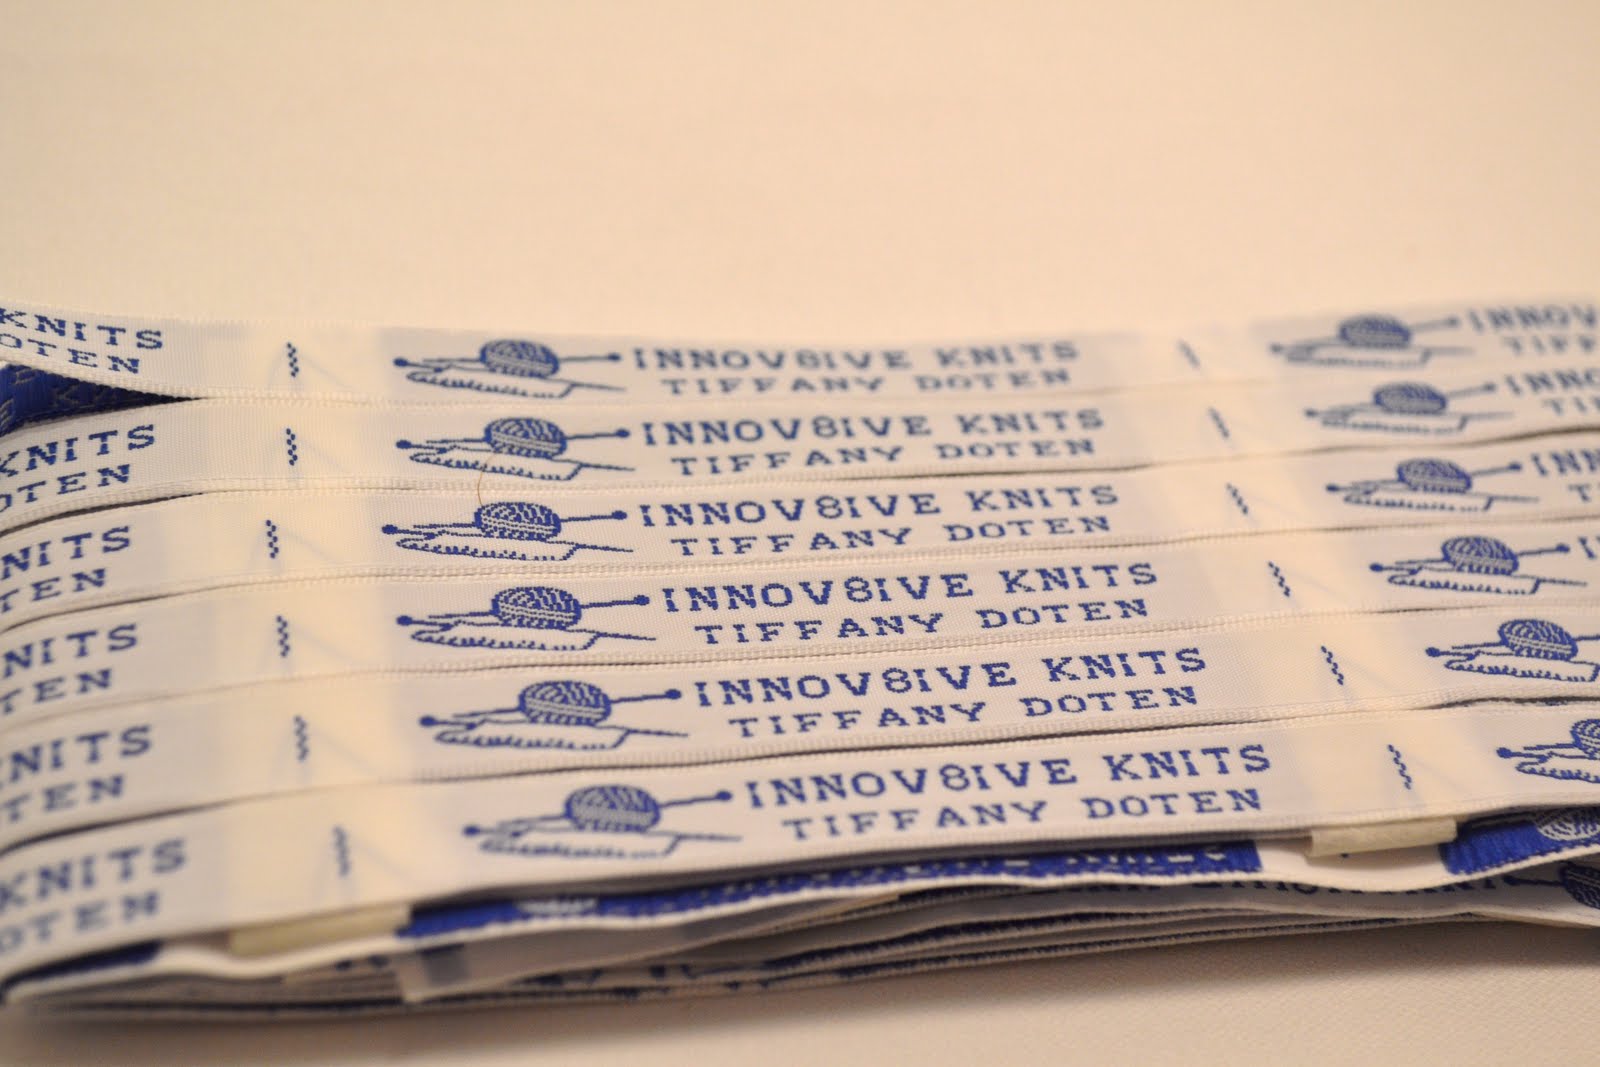
Oh and did I mention that I got my custom clothing labels in?!?!  I am so thrilled with how they came out and think they will play a great role in advertisement and branding. Make it easier for people to remember where their "favorite" scarf or hat came from for repeat business. :) If you want some for yourself they came from here: Custom Clothing Labels . They did an excellent job and are the best price from anywhere else I could find! The only downside is that they take a terribly long time to come in... and by terribly long time is like 3-5 weeks which isn't really terrible especially because they tell you that on the website so you know to expect it.

All in all, I'm overly satisfied with it. It will take me some time to get used to it.

On an unrelated note, I got my first official payment from my first happy customer!!!  Hopefully several more are close behind!

-Chasing the dream- Tiffany
Designed with love by BDD